
I Replaced a Dead Hard Drive
A few years ago, I wrote about how important it was to always back up your computer. After all, your computer could get lost, damaged, or stolen. But there’s another awful possibility: your hard drive could die.
There’s a lot of reasons why your computer’s hard drive could fail. It could be physical damage, like if your computer gets dropped or takes a hard hit. A traditional hard disk has quite a few moving parts: a group of spinning disks covered with magnetic film and arms that hover over them. If the arm should actually touch the platters, then you would lose a lot of files.
Or it could be a case of corrupted files. If you turn your computer off without properly shutting it down or if your computer gets infected with malware, that can cause bad sectors to develop.
In either case, you’ll need to either repair or replace your computer’s hard drive and you need to be prepared. Here is a day-by-day account of how I replaced mine.
Day 1
I bought my laptop off the shelf about five years ago. It wasn’t expensive, but it served me very well. But as it got older, a problem kept showing up. Occasionally, I would get a blue screen of death. Over time this began happening more and more often. I could no longer ignore it: my laptop had slowed down considerably and needed more and more time to recover. I did some research to figure out my next steps and ordered a new hard drive just to be safe.
Day 2
It was time to give my laptop a check-up. There was clearly something wrong with the hard drive. I looked around and found an app called CrystalDiskInfo. This app can give you a clear picture about what’s happening inside your hard drive. In a minute, CrystalDiskInfo gave me a detailed chart showing every possible statistic that could be measured. Sure enough, the hard drive had bad sectors. How could I fix this?
Day 3
Windows has some built-in tools to fix bad sectors. This would require me to do things the old-fashioned way: opening up a command prompt. This is a leftover from the early days of computers, way back before there were graphics, mice, and touchscreens. All you can do at a command prompt is type commands.
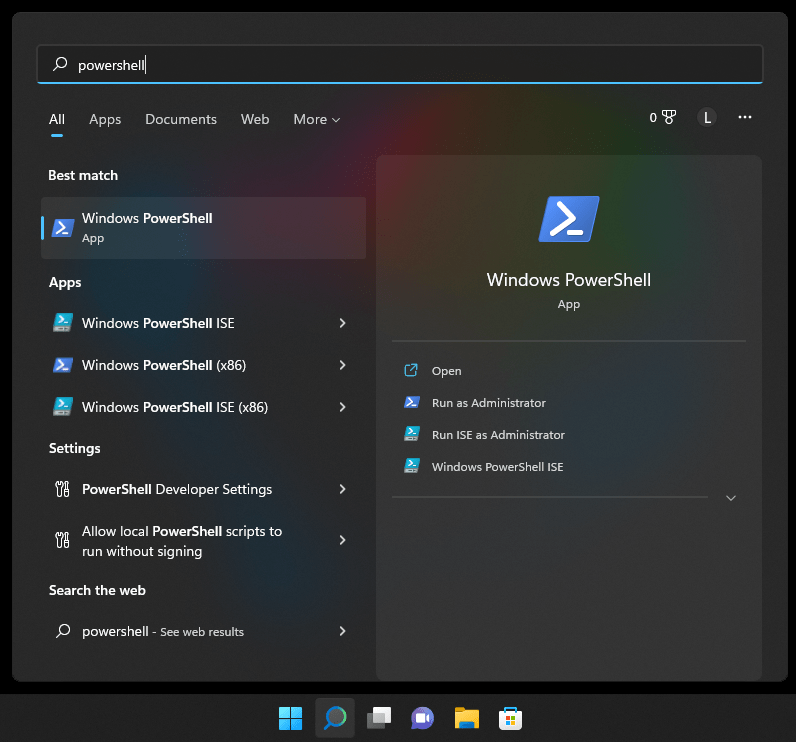
To open the command prompt, click on the search bar and type cmd to bring up the original version, or you can type PowerShell to use the more modern version. Then select the option Run as Administrator.

First, I typed sfc /scannow. This command looks for and repairs corrupted system files – those important files that keep Windows running.
Then I tried DSIM, which has more options and is more powerful than SFC Scannow. I opened PowerShell again and typed DISM /Online /Cleanup-Image /ScanHealth. This specific option repairs corrupted system files as well.
But would it work?
Day 4
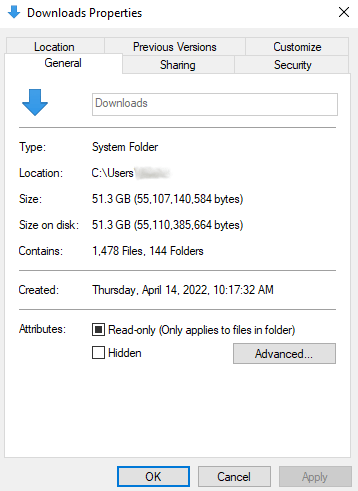
The command prompt methods had not worked. I knew now that my hard drive probably had physical damage and I was on borrowed time. I had been backing up my computer for some time, but I hadn’t kept everything as up to date as I should have. So I copied as many big folders as I could, i.e. Downloads and Pictures. I needed to save as much as I could.
Day 5
The inevitable happened. The hard drive shut down and could not be revived. I had bought an external case for it just in case I could get it up and running one last time.

I placed an order for the new laptop I’d had my eye on for a while, but I still needed a substitute computer while I waited. I had my new hard drive, so all I had to do was put it in my laptop and install Windows. It was then that I realized that my laptop didn’t come with a Windows 10 DVD. How was I going to install Windows?
Day 6
Fortunately, my family was able to help me out. I used my niece’s computer to make a Windows 10 USB recovery drive.

Years ago, when you bought a copy of Windows, it was a box filled with floppy disks, a CD-ROM, or a single DVD. Nowadays we buy software online and download it instantly; to reinstall it, you just connect to the internet and log into your accounts. It’s a lot more convenient than trying to figure out where you put that important disk, but it’s no help when preparing an empty drive for use.
To start making a recovery flash drive, type Create a recovery drive in the search box on your computer The flash drive you use should be at least 16 GB.
Day 7
With my recovery drive in hand, I was ready to bring my laptop back to life. In order to install Windows, I had to change the boot order. In other words, I had to tell my computer to use the flash drive to start up the computer instead of the hard drive. After Windows finished installing (and I finished installing Windows updates), I was able to restore all my files.
Looking back, there were some things I could have done better. For one thing, I could have kept better track of my Microsoft accounts. I had a hard time retrieving my Windows password. Second, I could have made an image of my laptop before my hard drive died. An image of a computer is a copy of all apps, files, and settings on a computer, right down to the desktop wallpaper. Above all, I could have made a recovery USB drive sooner. I was lucky that someone else had a good computer that I could use to make one.